
Store Set-up by Vendor
1. Firstly vendor completes his/her registration. After they will be redirected to a Store- setup Wizard which will allow the vendor to enter essential data as shown below.

2. Vendors can skip the wizard setup and directly enter the vendor Dashboard, or they can provide the details here in step-wise manner to pre-populate necessary details of the store.

3. In an initial step, the vendor has to fill up the store details, such as store logo, banner, address of the store, location and store description. Note that few fields will be pre-filled ( such as store email, name etc which are present as registration field), you can fill up the remaining fields as shown below:


4. In this step Vendors will setup their payment account, the options here is dependent on the available payment methods supported by the admin, there are following payment gateway for vendors as shown below.

5. Whichever payment gateway is selected from the above settings, they will be reflected in this step and the vendors can configure their payment account from here.

6. In this step the vendor enter their store policies like refund policy, shipping policy and cancellation policy. Additionally, you have to set the label for policy tab from here.
Here’s a screenshot for better understanding:

7. As a next step the vendors configure or enter their details of customer support, they will be enter their phone number, email address and physical address of contact support. Here’s again a glimpse of the same.

8. Vendors will get the feasibility to set their store’s social and SEO related settings from here as well. They can enter the following points as listed below
*SEO Title
*Meta Description
*Meta Keywords
*Facebook Title
*Facebook Description
*Facebook Image
*Twitter Title
*Twitter Description
*Twitter Image
Here’s again a screenshot of the same:

9. Vendors can also place the links of their social channels in store for more engagement, portraying social links in store definitely boosts the sales as it gives the more window. Here’s a screenshot of the page with an example of twitter account being set:

10. Here’s where one can see the social media links in vendor store page as shown below with twitter link as an example.

11. Once the above steps are completed you are all done with the setup and will receive a screen like the following:
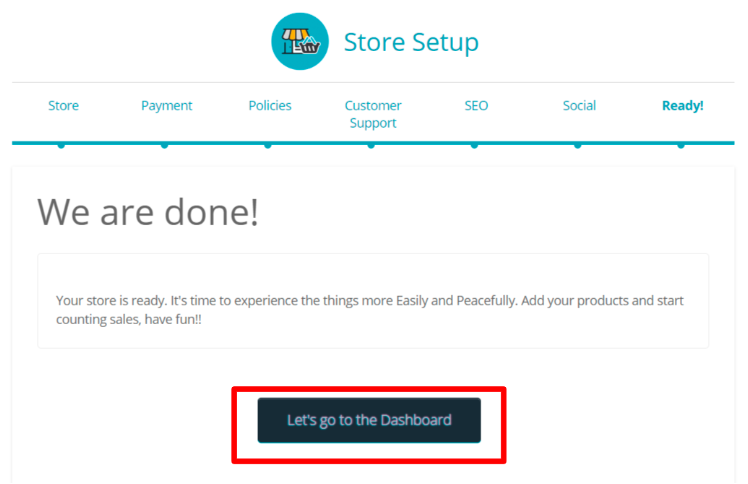
12. Once you click on ” Let’s go to Dashboard” the vendors will be redirected to their respective Dashboard from where they can fill in the remaining or left-over details and here’s how it looks like.

Related articles
How vendors can add coupons in their products?